3D printing for modellers: scale models of cars, aircraft and vehicles
3D printing for modellers: new possibilities for scale models
Modelling is a hobby that demands precision, patience and quality parts. Traditionally, modellers relied on ready-made kits from well-known manufacturers or made parts by hand. Today 3D printing is radically changing how scale models of cars, aircraft, tanks, ships and railway layouts are made. The technology lets you print both individual parts missing from a kit and completely unique models of your own design.
In this article we look at which types of model can be printed, how to choose the right material, where to find ready-made files and how to achieve a realistic look through post-processing.
Which scale models can be printed on a 3D printer
Car models
3D printing is ideal for creating scale copies of cars in the popular 1:24, 1:43 and 1:18 scales. You can print a complete body or individual parts: bumpers, spoilers, wheel rims, interior details. The technology is especially valuable for those recreating rare or concept cars for which no production kits exist.
Aircraft models
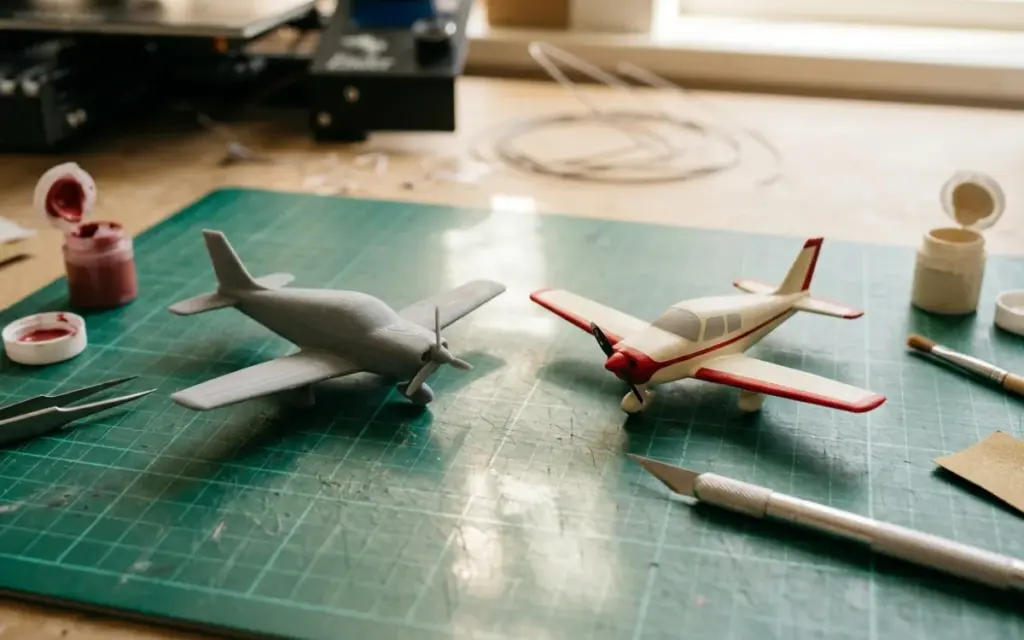
Aircraft modelling gains detailed fuselages, wings, landing gear, cockpit details and armament from 3D printing. At 1:72 and 1:48, high print resolution matters to capture fine details — rivets, hatches, antennas. FDM printing copes well with larger scales, while for the smallest parts SLA/resin printing is worth considering.
Tanks and military vehicles
Armoured vehicle models are one of the most popular areas. 3D printing lets you create tracks, turrets, extra equipment and armour details with high detail. For dioramas you can also print fortifications, vehicles and landscape features.
Ships
Ship models at 1:350 and 1:700 need a great many small parts: guns, masts, boats, radars. 3D printing makes these parts with an accuracy that handwork can’t achieve. A large-scale hull can be printed in sections and glued together.
Model railways and layouts
For railway modelling in H0 (1:87), TT (1:120) and N (1:160), 3D printing opens up huge possibilities. Buildings, stations, bridges, platforms, carriages and locomotives — all of these can be made to an individual design. It’s especially useful when you need to recreate a specific building or carriage that isn’t on sale.
RC models: bodies and functional parts
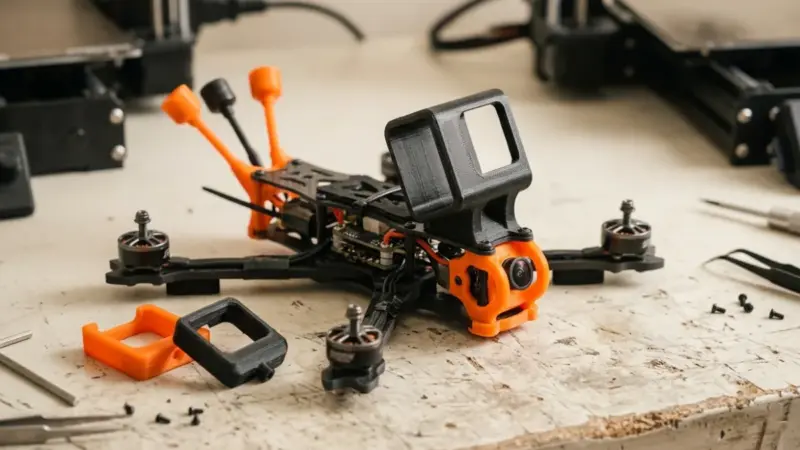
For radio-controlled models, 3D printing is a way to get tough bodies, electronics mounts, battery holders, motor brackets and other functional parts. Unlike static models, RC parts carry loads, so the choice of material is especially important.
Which material to choose for printing models
The choice of 3D printing material depends on what the model is for:
- PLA — the best choice for static scale models. It holds its shape well and is easy to work, sand and paint. It gives crisp detail even with thin walls. Suitable for cars, aircraft, tanks, ships and railway layouts.
- PETG — the best option for RC models and functional parts. It has higher impact resistance and flexibility than PLA and withstands vibration, knocks and temperature changes. We recommend it for RC model bodies, mounts and mechanical parts.
- ABS — used less often because it’s harder to print, but suitable for parts that need higher heat resistance.
For static models with high detail, PLA with a layer height of 0.1–0.15 mm is usually enough. For RC and functional parts, PETG with a layer height of 0.15–0.2 mm is the better choice.
Infill and strength: what you need to know
The infill percentage has a big effect on a model’s strength and weight:
- Static display models — 15–30% infill is quite enough. The model will be light and use less material.
- Parts for RC models — 50–80% infill provides the strength needed to work under load.
- Mounts, brackets, functional assemblies — 80–100% infill for maximum strength.
It’s also important to choose the right number of perimeters (walls): for strong parts we recommend 3–4 perimeters instead of the standard two.
Where to find scale model files for 3D printing
If you don’t model yourself, there are many resources with ready-made files:
- Thingiverse — the largest free library with a big collection of scale vehicle models.
- Cults3D — combines free and paid high-quality models, including detailed cars and aircraft.
- MyMiniFactory — quality models, many of them optimised specifically for FDM printing.
- Printables (Prusa) — an active community with lots of models and user feedback on print quality.
- CGTrader, TurboSquid — professional 3D models that may need adapting for printing.
Search for models with keywords such as “1:35 tank STL”, “H0 building 3D print” or “RC car body STL”. Look at the reviews and photos of printed results — this helps you judge the quality of a file before printing.
Resolution and surface quality
For scale models, surface quality is critical. Here are a few tips for the best result:
- Use a layer height of 0.08–0.12 mm for small parts and 0.15–0.2 mm for large ones.
- Reduce print speed to 30–40 mm/s for better detail.
- Orient the model correctly on the bed: the visible side should print with as few supports as possible.
- Split complex models into parts and print each in its optimal orientation.
Painting and post-processing for realism
Even a well-printed model needs post-processing to look realistic. The main stages:
- Removing supports — cut them away carefully with a craft knife or side cutters and sand the attachment points.
- Sanding — start with 200-grit sandpaper and work up to 600–800. Wet sanding can be used on PLA.
- Priming — apply 2–3 thin coats of spray primer. This hides the print layers and creates a base for paint. A filler primer helps fill small imperfections.
- Painting — use acrylic model paints (Tamiya, Vallejo, Revell). An airbrush gives the best result, but good quality is achievable with a brush too.
- Shading and weathering — washes bring out details and recesses. Dry brushing highlights edges and raised areas. Pigments imitate dirt, rust and dust.
- Varnishing — a final coat of matte or satin varnish protects the paint and adds realism.
PLA holds paint well after priming. PETG needs more careful surface preparation — we recommend light sanding before priming for better adhesion.
Practical tips for modellers
- Print a test piece before the full model to check the scale and quality.
- Use cyanoacrylate (superglue) or epoxy to join parts.
- Keep the original STL files — you may need to reprint a part with different settings.
- If a model is complex, start with simpler projects and work your way up.
Order a printed scale model in Lviv
If you don’t have your own printer or need professional print quality, we can help. Our 3D printing service in Lviv works with a range of materials and can choose the best settings for your particular model. We have experience printing scale models, RC parts and railway layout elements.
Send us the model file — we’ll estimate the cost and advise on material and print settings. We can also help with post-processing if you need a result that’s ready for painting.
Have an idea for something to print? Send a model or a photo of the part — we’ll quote it within an hour and suggest the right material.