Multicolour 3D printing: how to print in several colours
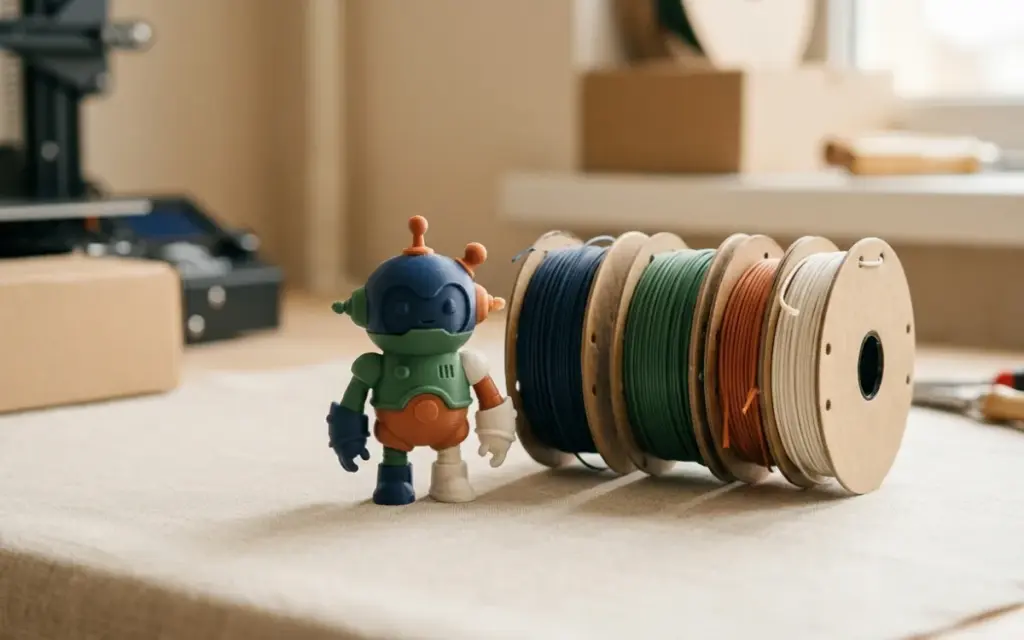
Multicolour 3D printing: how it works and what the options are
Standard FDM printing is single-colour by default: one filament, one colour, one part. But what if you need a two-colour logo, a sign with contrasting lettering or a bright toy for a child? This is where multicolour 3D printing comes in. In this article we look at the main ways of printing in several colours, model preparation, typical applications and the limitations of each approach.
Ways to print in several colours
Manual filament change (Pause & Swap)
The simplest and most accessible method is to pause the print at the right layer, pull out one filament and insert another. No extra equipment is needed: an ordinary printer with a single extruder is enough.
- Advantages: zero extra cost, works on any printer, an unlimited number of colours.
- Disadvantages: you have to stay by the printer, colours change only from layer to layer (not within a layer), and a careless change easily leads to mistakes.
The pause command can be added to the G-code by hand or set up in the slicer — most modern programs support inserting an M600 command (filament change) at the required height.
Automatic multi-material systems (Bambu AMS, Prusa MMU, Creality CFS)
Automatic filament feeding systems are the modern standard for multicolour printing. The most popular solutions on the market:
- Bambu Lab AMS — supports up to 4 filaments per unit (up to 16 when four units are connected). It recognises the material automatically via RFID tags and has built-in humidity control. The newer AMS 2 Pro paired with the H2D printer supports up to 24 colours.
- Prusa MMU3 — a 5-filament system for Prusa printers, known for its reliability and open-source software.
- Creality CFS, Elegoo CANVAS, QIDI Box — similar solutions from other manufacturers that appeared in 2025.
The principle is the same: one extruder, but the system automatically retracts one filament and feeds another. Before printing with a new colour, the nozzle is flushed to remove traces of the previous material.
- Advantages: full automation, different colours within a single layer, convenient slicer integration.
- Disadvantages: filament used for flushing (purge waste), longer print times because of the changes, and not every material is compatible (TPU or carbon-fibre filaments, for example, are often unsupported).
Dual extruder (Dual Extrusion / IDEX)
Printers with two independent extruders (IDEX — Independent Dual Extruder) can print with two materials at once. Each extruder has its own nozzle and its own drive.
- Advantages: minimal purge waste, the ability to combine different materials (for example, PLA + PVA for soluble supports), consistent print quality.
- Disadvantages: usually limited to two colours, a more expensive printer, and the offset between the nozzles needs careful calibration.
Tool changer — swapping print heads
The newest approach is printers with interchangeable print heads (tool changers). The printer automatically parks one head and picks up another, which allows 4 or more colours without flushing the nozzle. Waste is minimal, but such systems are still expensive.
Preparing a model for multicolour printing
To print a model in several colours, it has to be prepared properly. There are two main approaches:
Splitting the model into coloured parts
The model is split into separate bodies in a CAD program — each body corresponds to a particular colour. Then all the parts are loaded into the slicer as a single object with several components, and each component is assigned its own extruder or filament.
Painting in the slicer
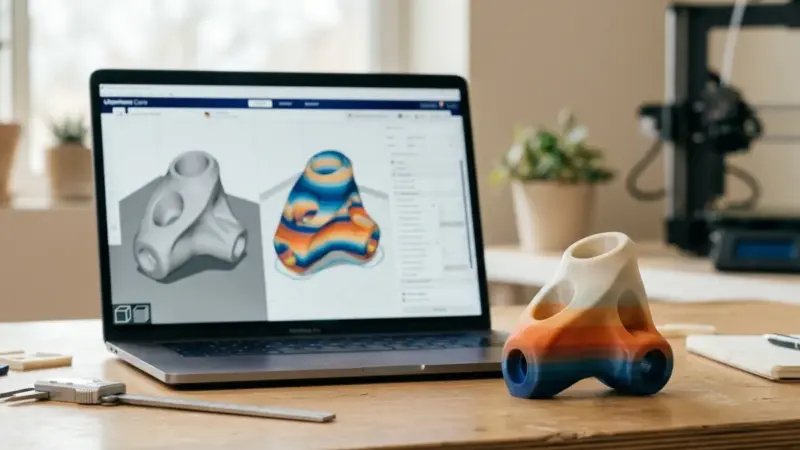
Modern slicers — Bambu Studio, PrusaSlicer, OrcaSlicer — have a built-in paint-on tool. You load a single solid model and mark areas in different colours with a brush right in the slicer. This is the most convenient method for simple multicolour models: lettering, logos, decorative elements.
Changing colour by height
If the colours change only from layer to layer (for example, a base in one colour and the top in another), it’s enough to insert a filament change command at the right height. This works even with manual changes and needs no complex model preparation.
Typical applications of multicolour printing
Multicolour printing opens up wide possibilities in many fields:
- Logos and branding — corporate logos, promotional souvenirs in exact brand colours.
- Signs and signage — number plates, information signs with contrasting text that won’t rub off or fade.
- Toys and figures — characters from games and cartoons, board games with bright details and no need for painting.
- Lettering and raised text — decorative lettering, door signs, labels for exhibition models.
- Product prototypes — buttons in a different colour on an enclosure, colour-coding of a part’s functional areas.
- Educational models — anatomical models, geographical maps, visual aids with colour coding.
Comparing the approaches: which to choose
- For one-off projects with 2–3 colours by height — manual filament change. Free, simple and suitable for signs and stands.
- For regular multicolour printing — an automatic system (AMS, MMU). Convenient and predictable, but with purge costs.
- For combining different materials — a dual extruder or IDEX printer. The best option when you need, for example, a main material plus soluble supports.
- For professional production — a tool changer. Minimal waste and maximum flexibility, but a high entry cost.
Limitations and practical tips
Multicolour printing has its nuances that are worth knowing in advance:
- Purge waste. With every colour change in AMS-type systems, some filament is used to clean the nozzle. On complex models with frequent colour changes, waste can reach 20–30% of total material use. A purge tower or printing several objects at once helps reduce it.
- Print time increases. Each filament change adds 30 seconds to 2 minutes. With hundreds of changes this significantly lengthens the total time.
- Choosing colours. Light colours after dark ones may show traces of the previous colour. The order of colours in the model affects quality — try to minimise transitions between contrasting colours.
- Not all materials are compatible. It’s not a good idea to mix PLA and PETG in one model — they have different printing temperatures and bond poorly to each other. Check the compatibility of materials before you start printing.
- Calibration is essential. For dual extruders, accurate calibration of the offset between the nozzles is critical, otherwise the colours will “drift” relative to each other.
Want to print a multicolour model?
Our 3D printing studio in Lviv works with automatic multi-material systems and has experience of multicolour printing for a range of tasks — from simple signs to complex multi-part items. We’ll help you choose the best printing method, prepare the model and pick the right colours.
Send a request — tell us what you need printed, and we’ll suggest the best solution for your project.
Want to test an idea for real? Send the model — we’ll print it in PLA or PETG and quote it within an hour.