Post-processing 3D-printed parts — sanding and painting
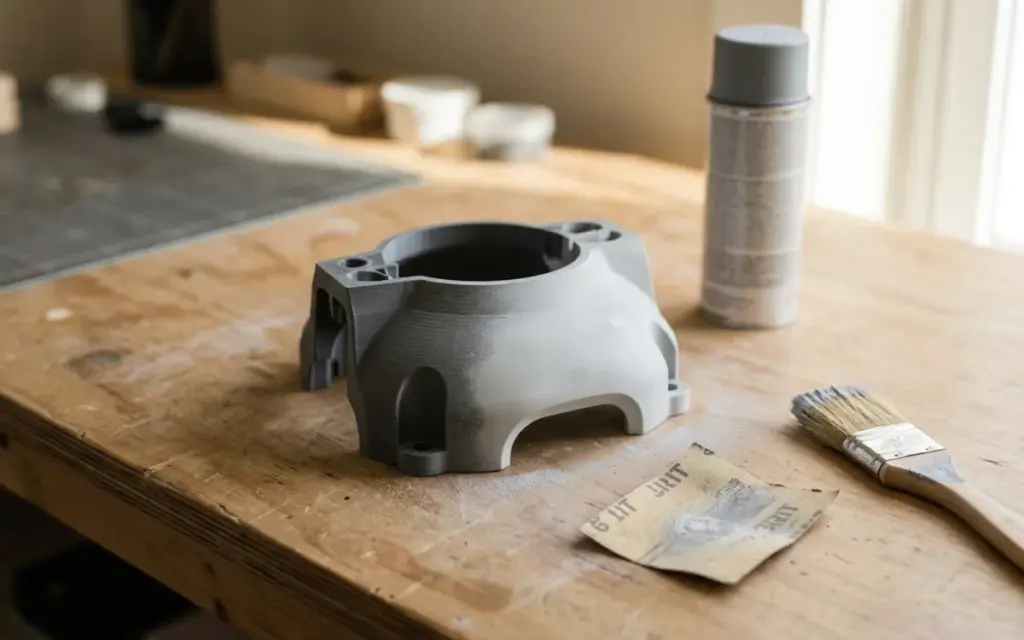
Post-processing 3D-printed parts: how to get a perfect surface
3D printing lets you make parts of almost any shape, but items fresh off the printer don’t always look perfect. Visible layers, support marks, bumps — all of these can be removed with post-processing. In this article we look at the main techniques for sanding, priming, painting and other ways of finishing 3D-printed parts.
When post-processing is needed and when it isn’t
Not every 3D-printed item needs extra finishing. Knowing this will save you time and money.
Post-processing is needed if:
- The item will be on display and needs to look good (decor, gifts, cosplay)
- A smooth surface is needed for functional reasons (sealing, sliding)
- The part consists of several pieces that need to be glued with the seams hidden
- The item needs painting in a specific colour or a protective coating
Post-processing isn’t necessary if:
- The part is hidden inside a mechanism and can’t be seen
- It’s a functional prototype for testing shape and size
- The layer texture is acceptable or even desirable
- The item was printed at high resolution and already looks good enough
Sanding: the basis of any post-processing
Sanding is the first and most important stage of surface finishing. It smooths visible layer lines and prepares the part for priming or painting.
Step-by-step sanding technique
Stage 1: Coarse sanding (100–150 grit)
Start with 100–150 grit sandpaper. This stage removes the biggest bumps, support marks and obvious print defects. Use even strokes and don’t press too hard so you don’t deform the part.
Stage 2: Medium sanding (300–400 grit)
Move on to 300–400 paper. Here you smooth out the marks from the previous stage and make the surface more uniform. The visible layer lines start to disappear at this stage.
Stage 3: Fine sanding (600–800 grit)
Finish with 600–800 paper. Wet sanding is recommended — keep the sandpaper wet while you work. This reduces dust, stops the abrasive from clogging and gives a smoother surface.
Tip: sand in circular motions and rinse the part with water regularly to check the result. PLA and ABS sand well; PETG is a bit harder because it’s tougher.
Priming: preparing for paint
After sanding, the surface may have small scratches and pores. Primer fills these defects and creates an even base for paint.
- Use filler primer in a spray can — it’s specially designed to fill small imperfections
- Apply 2–3 thin coats from 20–30 cm away, letting each coat dry for 15–20 minutes
- Once dry, go over it lightly with 600–800 grit sandpaper for a perfectly smooth finish
- Repeat the prime-and-sand cycle again if needed
Primer also helps reveal defects that aren’t visible on an unpainted surface.
Painting: giving the item its final look
Spray painting
Spray paint is the most popular way to paint 3D-printed parts. It gives an even coat with no brush marks.
- Choose acrylic spray paint — it adheres well to plastic
- Apply 3–4 thin coats instead of one thick one — this prevents runs
- Wait 10–15 minutes between coats
- Work in a well-ventilated room or outdoors
- Hold the can 25–30 cm from the surface
Brush painting
A brush suits small details, figurines and pieces that need several colours.
- Use acrylic model paints (Vallejo, Citadel, Tamiya)
- Apply paint in thin layers, avoiding excess
- Use a flat brush for large areas and a fine round brush for details
- You can mix colours to get the shade you want
Finishing with varnish
After painting, it’s best to apply a protective varnish — matte or gloss, depending on the effect you want. Varnish protects the paint from scratches, moisture and UV.
Acetone smoothing (ABS only)
If a part is printed in ABS plastic, there’s a unique smoothing method — acetone vapour treatment. Acetone dissolves the surface of ABS, creating a smooth, almost glossy effect.
How to do it:
- Put a paper towel soaked in acetone at the bottom of an airtight container
- Place the part on a stand inside the container (not touching the liquid)
- Close the container and leave it for 15–60 minutes, depending on the effect you want
- Check the process every 10 minutes — overdoing it can blur fine details
Important: this method works only with ABS. PLA, PETG and other materials don’t react to acetone. Work in a well-ventilated room and use protective equipment. You can compare the properties of different materials on the Materials page.
Epoxy coating
For a strong, water-resistant and perfectly smooth coating, you can use epoxy resin. This method works with any material.
- Mix the epoxy resin with the hardener according to the instructions
- Apply a thin layer with a brush
- Let it cure fully (usually 24–48 hours)
- Sand and apply another coat if needed
An epoxy coating adds strength, makes the item waterproof and gives it a pleasant smooth texture. It’s ideal for functional parts and items that come into contact with moisture.
Gluing and assembling multi-part items
Large or complex parts are often printed in several pieces that are joined afterwards. The main methods:
- Superglue (cyanoacrylate) — a quick bond, suitable for PLA and ABS
- Epoxy glue — a strong bond that can fill gaps
- Welding with a soldering iron — joining plastic parts by melting them
- Mechanical fasteners — bolts, nuts, threaded inserts
After gluing, the seams can be hidden with filler, sanded and painted so the item looks like one solid piece.
Summary: a post-processing plan
Here’s the general sequence for full post-processing of a 3D-printed part:
- 1. Remove supports and clean up the remnants
- 2. Coarse sanding (100–150 grit)
- 3. Medium sanding (300–400 grit)
- 4. Fine wet sanding (600–800 grit)
- 5. Primer (2–3 coats)
- 6. Sanding the primer (600–800 grit)
- 7. Painting (3–4 thin coats)
- 8. Protective varnish
You don’t have to do every stage — pick the ones that match your needs. For functional parts, sanding alone is often enough, while the full cycle is needed for display or decorative items.
Need professional post-processing of 3D-printed parts? At 3dprint.lviv.ua you can order printing with finishing — sanding, priming and painting. Get in touch to discuss your order and get advice on the best finishing option.
Order 3D printing
Need quality 3D printing? printing materials. order post-processing. prices. Delivery across Ukraine by Nova Poshta.
Don’t want to prepare the file yourself? Send the model as it is — we’ll check it, fix any errors and quote it within an hour.