3D printing for Arduino and Raspberry Pi projects
3D printing and microcontrollers: a perfect match
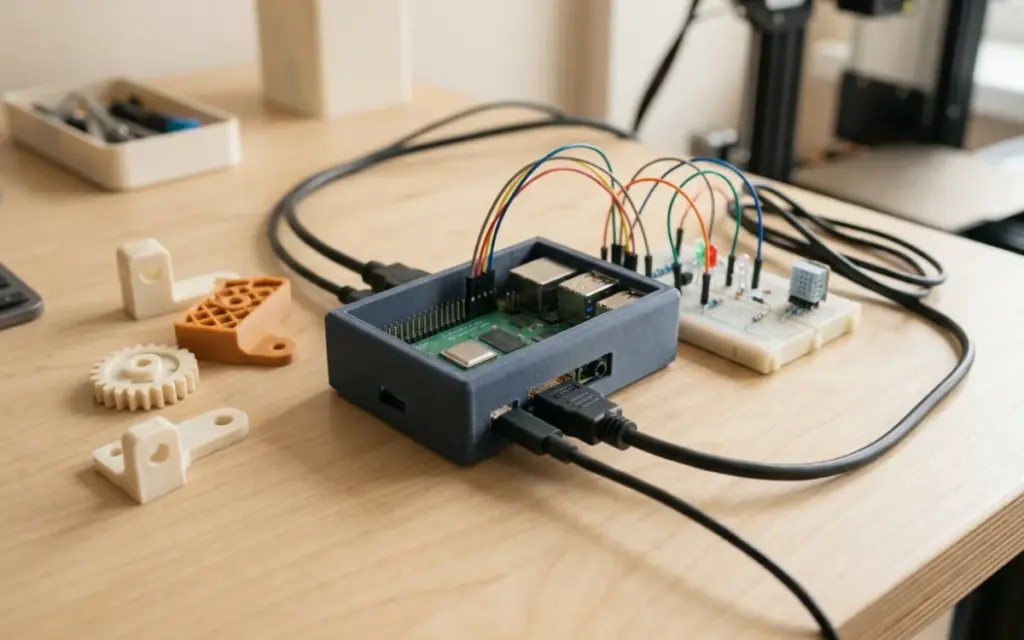
DIY electronics is booming thanks to affordable platforms like Arduino and Raspberry Pi. Millions of enthusiasts around the world build smart devices, robots, weather stations, automation systems and countless other projects. But every project needs more than electronics — it needs an enclosure, mounts and mechanical parts. This is where 3D printing becomes an indispensable tool for every maker.
In this article we look at how 3D printing for Arduino and Raspberry Pi helps turn a breadboard full of wires into a finished, professional-looking device.
Arduino enclosures: from prototype to finished product
Arduino Uno
The Arduino Uno is the most popular board among beginners and experienced makers alike. Its dimensions (68.6 x 53.4 mm) have become a de facto standard, and there’s a huge number of ready-made 3D enclosure models for it. When designing your own enclosure, keep in mind:
- The mounting holes are placed asymmetrically — use the official drawing
- The USB-B connector sticks out 2 mm beyond the edge of the board
- Components on the board are up to 12 mm tall, including capacitors
- Leave access to the pin headers if you use shields
Arduino Nano
The compact Arduino Nano (45 x 18 mm) is ideal for embedded projects. Nano enclosures are usually as small as possible and may include a battery compartment. Pay attention to the Mini-USB or Micro-USB connector, depending on the board version.
Arduino Mega
The Arduino Mega, with its many pins (101.52 x 53.3 mm), needs a roomier enclosure. When designing one for the Mega, it’s important to allow access to all four rows of pin headers and the extra ports.
Raspberry Pi enclosures with proper ventilation
The overheating problem
Raspberry Pi boards, especially models 4 and 5, are known for overheating under load. The processor can reach 80–85 degrees, which leads to throttling and lower performance. So a proper Raspberry Pi enclosure isn’t just protection but part of the cooling system.
Ventilation recommendations
An effective Raspberry Pi enclosure should have:
- Vents above the processor — that’s where most heat is produced
- Holes in the bottom wall — for airflow from bottom to top
- Room for a heatsink — the enclosure height should allow for a 5–15 mm heatsink
- A fan mount — a 30 or 40 mm fan greatly improves cooling
- Slots in the side walls — extra channels for airflow
The best material for a Raspberry Pi enclosure is PETG. It withstands the higher temperatures near the processor and conducts heat better than PLA. On the enclosure printing page at 3dprint.lviv.ua you can order a professionally made enclosure for your single-board computer.
Access to ports
The Raspberry Pi has lots of ports, and the enclosure must give convenient access to each of them:
- USB-C power and 2–4 USB-A ports
- An RJ-45 Ethernet socket
- Micro-HDMI — one or two ports, depending on the model
- CSI camera and DSI display connectors
- The MicroSD card slot — always with easy access
- GPIO pin headers — 40 pins, often needing access from above
Sensor mounts
Most Arduino and Raspberry Pi projects use various sensors that need to be mounted and positioned correctly. 3D printing lets you create the perfect mount for every type of sensor.
HC-SR04 ultrasonic sensors
A mount for an ultrasonic sensor must aim its two transducers at exactly the right angle. A typical holder has 16 mm holes with 26 mm between centres and an adjustable tilt angle.
PIR motion sensors
PIR sensors need a mount with a dome window for the Fresnel lens. A typical PIR sensor has a viewing angle of up to 120 degrees, so the mount mustn’t restrict its field of view.
DHT22 and BME280 temperature and humidity sensors
These sensors need contact with the surrounding air but protection from direct moisture. Their mounts usually have a louvred design that lets air circulate freely.
Robot chassis
3D printing has revolutionised hobby robotics. Now anyone can design and print a complete robot chassis perfectly adapted to specific motors, wheels and electronics.
- Chassis platform — a base with mounts for motors, wheels and electronics
- Servo brackets — precise mounts for SG90, MG996R and other servos
- Camera holders — pan-tilt mechanisms for cameras and LiDAR
- Protective bumpers — in TPU to absorb impacts
- Battery boxes — compartments for Li-Ion cells or AA batteries
For robot chassis, we recommend PETG for the main structural parts and TPU for bumpers and flexible joints.
Brackets for servos and displays
Servos
Mounting a servo properly is critical for the mechanism’s accuracy. When designing a bracket, consider:
- The exact size of the servo’s mounting ears — the SG90 standard has 28 mm between holes
- A cable gap — at least 5 mm
- Being able to replace the servo without taking the whole structure apart
- Mount stiffness — a servo produces torque that can deform a weak mount
Displays
Holders for LCD 1602, 0.96-inch OLED and TFT screens should hold them securely at a comfortable viewing angle. For touchscreens, it’s important to design a rigid mount that can take the pressing.
Cable management
A professional-looking project needs not just a good enclosure but also neat cable management. With 3D printing you can make:
- Cable channels and guides
- Clamps and wire clips
- Breadboard holders
- Mounts for power supplies and converters
- Organisers for small components
Where to find ready-made 3D models
You don’t have to design everything from scratch. The maker community shares thousands of free models on specialised platforms:
- Thingiverse — the largest library of free 3D models, with a huge collection of Arduino and Raspberry Pi enclosures
- Printables — Prusa’s platform with quality models and an active community
- Cults3D — combines free and paid high-quality models
- GrabCAD — engineering models and complex mechanisms
Before printing a downloaded model, always check other users’ comments and photos — it will help you avoid mistakes and choose the best print settings.
Tips for designing around specific boards
If you’ve decided to create your own enclosure or mount, follow these recommendations:
- Use official drawings — download DXF or STEP files from the manufacturers’ websites
- Add tolerances — make holes 0.2–0.3 mm larger for FDM printing
- Allow for component height — capacitors and USB and Ethernet connectors stick up above the board
- Design for assembly — the part should be easy to fit and remove
- Provide access to the Reset button — a small hole for a thin object
- Add labels — port names, the SD card insertion direction and so on
You’ll find information about available materials and their prices on the materials and prices pages at 3dprint.lviv.ua.
Order printing for your project
Whether it’s a Raspberry Pi smart home enclosure or an Arduino robot chassis, 3dprint.lviv.ua will help you bring your project to life. We print in different materials, with high accuracy and fast turnaround. Get in touch — send your 3D model or describe the task, and we’ll find the best solution.
Order 3D printing
Need quality 3D printing? enclosure printing. materials. prices from 5 UAH/g. Delivery across Ukraine by Nova Poshta.
Have an idea for something to print? Send a model or a photo of the part — we’ll quote it within an hour and suggest the right material.