How a slicer works — from 3D model to G-code
What a slicer is and why you need one
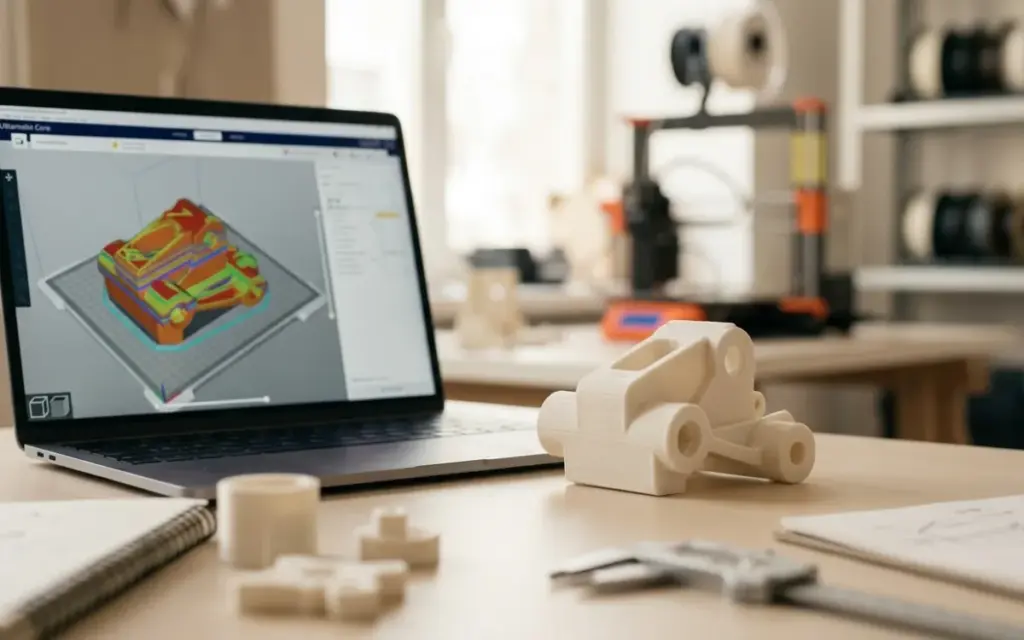
Between a 3D model on a computer screen and a finished part from the printer there’s an important intermediate step — slicing. A slicer is software that turns a three-dimensional model into a set of instructions for a 3D printer, known as G-code.
Without a slicer, a 3D printer can’t print a part: it simply doesn’t understand 3D model formats (STL, OBJ, 3MF). The printer works with coordinates and commands — where to move the head, how fast, when to feed plastic, what temperature to hold. All of this is generated by the slicer.
The name “slicer” comes from the English word slice. The program literally “slices” the 3D model into thin horizontal layers and creates a toolpath for the print head on each layer.
Popular slicers for FDM printing
There are several leading slicer programs on the market, each with its own strengths:
Cura (UltiMaker Cura)
Cura is the world’s most popular free slicer. Developed by UltiMaker, it supports a huge number of printers and has an intuitive interface. Cura offers both basic settings for beginners and hundreds of advanced options for experienced users.
- Supports over 400 printer models
- A huge library of plugins
- Regular updates and an active community
- Available for Windows, macOS and Linux
PrusaSlicer
PrusaSlicer, developed by the Czech company Prusa Research, is considered one of the most powerful and precise slicers. It’s based on the open-source Slic3r project and is constantly being improved.
- Excellent support generation (including “smart” supports)
- Precise control over print settings
- Built-in profiles for Prusa printers and many others
- Multi-material printing support
Other slicers
Also worth mentioning: OrcaSlicer — a PrusaSlicer fork with extra features that’s quickly gaining popularity; Bambu Studio — optimised for Bambu Lab printers; Simplify3D — a paid slicer with powerful capabilities.
What G-code is
G-code is a programming language for computer numerical control (CNC), used not only in 3D printing but also in milling machines and lathes. In 3D printing, G-code is a text file containing a sequence of commands for the printer.
Here are a few typical G-code commands:
- G28 — return all axes to the home position (homing)
- G1 X50 Y50 Z0.2 F3000 — a linear move to X=50, Y=50, Z=0.2 at 3000 mm/min
- M104 S210 — set the hotend temperature to 210°C
- M140 S60 — set the bed temperature to 60°C
- G92 E0 — reset the extrusion counter
A typical G-code file for one part can contain anything from a few thousand to several million lines of code. That’s why nobody writes G-code by hand — the slicer does that job.
Key slicer settings
The quality, strength and appearance of a printed part depend directly on the right slicer settings. Let’s look at the most important ones.
Layer height
This is the thickness of each horizontal layer the part is built from. Typical values:
- 0.1 mm — high quality, smooth surface, slow printing
- 0.2 mm — standard quality, the best balance of speed and quality
- 0.3 mm — draft printing, fast but with visible layers
Layer height is probably the very first setting that affects print time and appearance. Halving the layer height roughly doubles the print time.
Infill
3D-printed parts usually aren’t solid inside — they have an internal infill structure. The key settings:
- Infill percentage — from 0% (a hollow part) to 100% (solid). Typical values: 15–25% for decorative items, 40–60% for functional parts.
- Infill pattern — the geometric pattern of the internal structure: lines, grid, triangles, gyroid, honeycomb. Each pattern has different strength properties.
Gyroid is one of the best infill patterns, giving even strength in all directions.
Supports
When a part has features overhanging at more than 45°, temporary support structures have to be printed under them. After printing, the supports are removed by hand.
Modern slicers offer different types of supports:
- Normal supports — columns and walls under overhanging features
- Tree supports — branching, tree-like structures that use less material and are easier to remove
- Soluble supports — printed in PVA plastic, which dissolves in water (needs a dual-extruder printer)
Print speed
The print head’s speed is measured in mm/s and directly affects print time and quality:
- 30–50 mm/s — slow printing, high quality, less vibration
- 60–100 mm/s — the standard speed for most printers
- 150–300 mm/s — high-speed printing (needs a suitable printer and settings)
Print temperature
Each material needs its own temperature:
- PLA: hotend 190–220°C, bed 50–60°C
- PETG: hotend 220–250°C, bed 70–85°C
- TPU: hotend 220–240°C, bed 40–60°C
- ABS: hotend 230–260°C, bed 90–110°C
Other important settings
- Number of walls (perimeters) — the thickness of the part’s outer shell. 3–4 walls give good strength.
- Number of top/bottom layers — how many solid layers form the top and bottom surfaces.
- Retraction — pulling the filament back during travel moves, which prevents “stringing” between features.
- Bed adhesion — a way to improve first-layer adhesion: a skirt, brim or raft.
How to prepare a model for printing
Preparing a model for 3D printing in a slicer takes a few steps:
- Import the 3D model into the slicer (STL, OBJ, 3MF or STEP format).
- Position the model on the virtual platform — choose the best orientation to minimise supports and get a better surface.
- Choose a print profile — material, layer height, quality.
- Adjust the settings — infill, supports, speed and other settings according to your requirements.
- Slice it — press “Slice” and wait for the G-code to be generated.
- Check the preview — the slicer shows the print layer by layer. Check that everything looks right.
- Save the G-code to an SD card or send it straight to the printer.
Don’t worry — we’ll do it all for you
If all of the above sounds complicated, that’s perfectly normal. Slicing is a whole science, and getting the settings right takes experience and an understanding of each material and each type of part.
That’s why, when you order 3D printing at 3dprint.lviv.ua, you don’t need to know anything about slicers or G-code. Our specialists will prepare your model for printing, choose the best settings for each part and make sure you get the best result. All you need to do is send a 3D model or even just a sketch — the team will do the rest.
You can learn more about the available printing materials and service prices on the relevant pages of the site.
Summary
A slicer is the brain of 3D printing — the program that turns a beautiful 3D model into a practical set of instructions for the printer. Good slicing is the difference between a successful print and a pile of wasted plastic. Understanding the basic settings will help you describe your quality and performance requirements more clearly.
Ready to order 3D printing? Contact the 3dprint.lviv.ua team — we’ll handle the whole process from slicing to the finished part, ensuring the best quality and result for your project.
Order 3D printing
Need quality 3D printing? printing materials. prices. order 3D printing. Delivery across Ukraine by Nova Poshta.
Want to test an idea for real? Send the model — we’ll print it in PLA or PETG and quote it within an hour.