3D scanning: how to digitise a real object for 3D printing
What is 3D scanning and why is it needed?
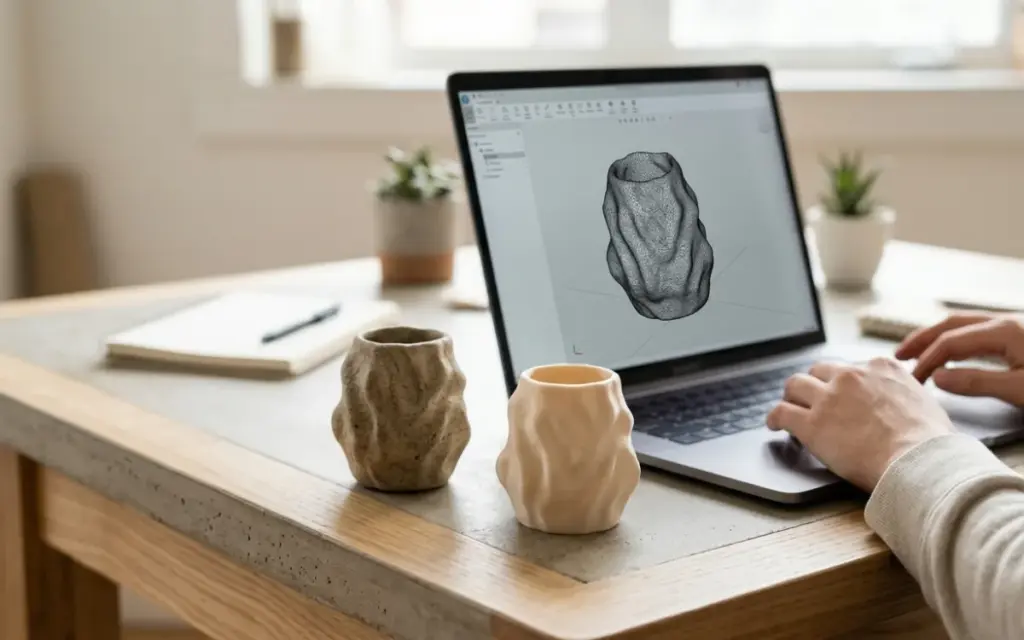
Imagine you need to reproduce a part that’s no longer made, make an exact copy of a sculpture or create a digital model of a complex object. Modelling it by hand from scratch is slow, expensive and not always accurate. This is where 3D scanning helps — a technology that turns a real physical object into a digital 3D model in a matter of minutes.
The result of a scan is a three-dimensional mesh model (usually in STL or OBJ format) that can be sent straight to 3D printing, refined in a CAD program or used for visualisation. It’s a bridge between the physical and digital worlds, and today it’s available not only to industrial companies but to ordinary users too.
Types of 3D scanner: which to choose?
There are several main 3D scanning technologies, each with its own strengths. The choice depends on the size of the object, the accuracy required and the budget.
Laser scanners
A laser beam is projected onto the object’s surface, and a camera records its deflection to build a three-dimensional map. These scanners offer high accuracy (up to 0.05 mm) and work well with parts of complex geometry. They’re used mainly in industry, reverse engineering and quality control. The downside is the high cost of the equipment and sensitivity to shiny or transparent surfaces.
Structured light scanners
Instead of a laser beam, a grid of stripes or dots is projected onto the object, and a camera analyses how it deforms. This is faster than laser scanning because a large area of the surface is captured at once. Accuracy ranges from 0.1 to 0.01 mm depending on the scanner model. Ideal for medium-sized objects: mechanical parts, sculptures, jewellery. Popular budget models are Revopoint and Creality Scan.
Photogrammetry
This is a method of building a 3D model from a series of photos of the object taken from different angles. Special software analyses the common points in the images and reconstructs the geometry and surface texture. The main advantage is that you don’t need a special scanner. An ordinary camera or even a smartphone is enough. Accuracy is lower than with laser scanners but quite sufficient for many tasks.
Smartphone photogrammetry: 3D scanning for free
The most accessible way to digitise an object is to use your smartphone. Modern phones have good enough cameras, and some models (iPhones with LiDAR, Samsungs with a ToF sensor) also have depth sensors, which greatly improve the result.
Here are three free apps worth starting with:
- Polycam — one of the most popular 3D scanning apps. Works on iOS and Android. On an iPhone Pro it uses LiDAR for fast scanning, on other devices photogrammetry. You can export models in STL, OBJ and GLTF formats. The free version limits the number of exports.
- Luma AI — an app that creates strikingly realistic 3D models from video. You simply walk around the object with the camera, and a neural network generates the model. It works especially well with organic shapes and textured objects.
- RealityScan (by Epic Games) — a free photogrammetry tool. You take a series of photos (50–100 shots), upload them, and the service creates a detailed 3D model with textures. The results can be exported in formats ready for 3D printing.
Tips for good smartphone scans: provide even, soft lighting without harsh shadows, move around the object slowly and steadily, take shots with at least 60–70% overlap, avoid shiny and transparent surfaces (they can be treated with a matting spray), and always start with small, stationary objects.
Preparing a scan for 3D printing
Even a good scan is rarely ready to print straight away. Typical problems: holes in the mesh, scanning artefacts, extra geometry, the wrong orientation or far too many polygons. Before sending it for printing, the model needs to be “repaired” — this process is called mesh repair.
The main tools for preparing a scan:
- Meshmixer (free, by Autodesk) — the best choice for beginners. It automatically finds and closes holes, smooths the surface, removes artefacts, lets you trim away unwanted parts and reduces the polygon count. It has a handy “Make Solid” function for creating a solid model from a “raw” scan.
- Blender (free, open-source) — a powerful tool for experienced users. It allows complex mesh editing: remeshing, sculpting, Boolean operations, precise scaling. If you need to combine a scan with CAD elements or refine small details, Blender can handle it.
- MeshLab (free) — a specialised mesh processing tool. Good for filtering noise, simplifying the polygon mesh and aligning several scans into one model.
After processing, save the model in STL format — the standard for 3D printing. Read more about file requirements in our article how to prepare an STL file for printing. And if you’d rather create a model from scratch than scan one, take a look at the guide how to create a 3D model.
Where 3D scanning is used: practical examples
Reverse engineering and copying parts
The most common use is digitising a part that has broken or worn out. Scanning captures the exact geometry of the original, even if no drawing exists. This is especially valuable for old cars, rare machinery and industrial equipment, where spare parts were discontinued long ago. The scanned model can be refined — for example, by reinforcing a weak spot or changing a mount — and an improved version printed.
Portrait busts and figurines
3D scanning people is a popular choice for gifts and souvenirs. By scanning a face or a whole figure, you can create a personal bust, a miniature figurine or even a chess set with portraits of real people. Smartphone photogrammetry copes well with this task, although structured light is better for facial detail.
Architectural models and heritage preservation
Scanning buildings, reliefs and architectural features makes it possible to create accurate scale models for presentations, museums or restoration projects. Drone photogrammetry digitises even large structures effectively. It’s also an important tool for preserving cultural heritage — digital copies of architectural monuments are immune to time.
Orthopaedics and individual products
Scanning parts of the body (feet, hands, head) makes it possible to produce individual orthopaedic devices, protective covers and ergonomic accessories. Printing from a scan ensures a perfect fit that mass-produced items can’t achieve.
What if you can’t scan it yourself?
If the object is too large, high accuracy is needed or you don’t want to spend time on processing, we’ll tell you who can scan the object or make a model from photos and measurements. We’ll prepare the finished file for printing and choose the best material; printing usually takes 1–3 days.
Have a scan or need to digitise a part?
Send us a model from your scan in STL, OBJ or 3MF — we’ll check it and print it well and quickly. Free advice and quote.
Want to test an idea for real? Send the model — we’ll print it in PLA or PETG and quote it within an hour.