Supports in 3D printing: when you need them and how to minimise them
In short
- Supports are needed when an overhang exceeds about 45° from vertical; PLA with good cooling holds up to 55–60°.
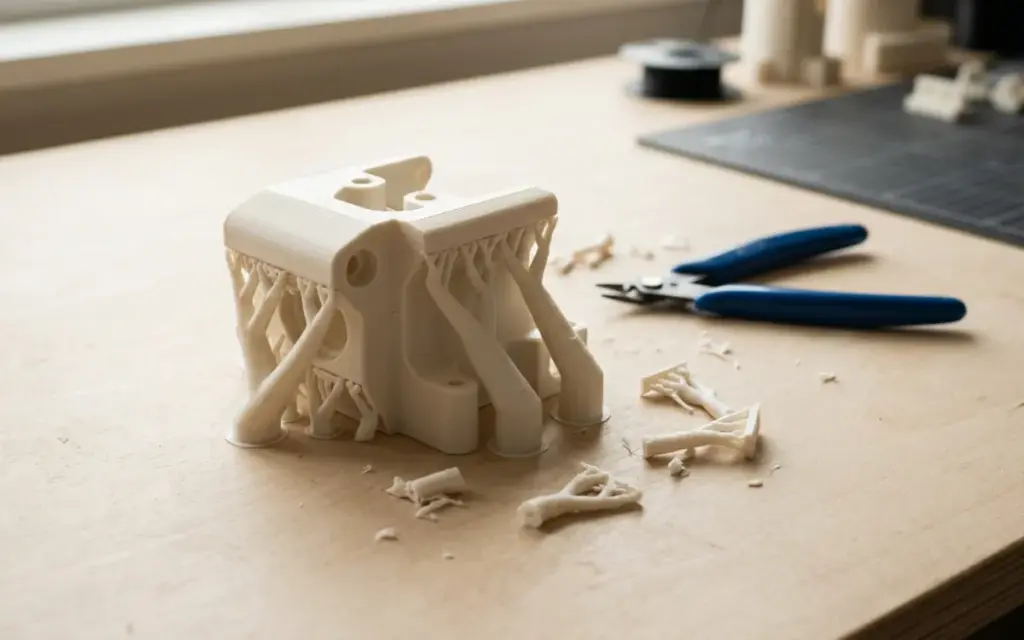
- Tree supports touch the part less and leave fewer marks than linear ones.
- The best ways to reduce supports are the right orientation, splitting the model into parts and 45° chamfers instead of right angles.
- Settings: 10–20% density, a Z distance of 1–2 layers, 2–3 interface layers, zigzag pattern.
- For complex internal cavities, use soluble supports: PVA in water, HIPS in limonene.
Supports in 3D printing: why they’re needed and how to work with them
If you’ve ordered 3D printing or prepared a model yourself, you’ve definitely come across the word “supports”. These are temporary structures the printer prints along with the part to keep overhanging features from sagging. After printing they’re removed, leaving just the finished item.
Customers often ask: “Can we do without them?” Sometimes yes. Sometimes no. Let’s look at when supports are needed, what kinds there are and how to reduce their impact on quality.
Why an FDM printer can’t print in mid-air
FDM prints layer by layer, from the bottom up. Each new layer sits on the one below. The problem arises when part of the model “hangs” over empty space — the plastic has nothing to rest on. Gravity pulls the molten material down, and instead of a flat surface you get sagging strands or a ruined part.
For such situations, the slicer automatically generates supports — temporary structures that prop up overhangs from below until the plastic sets.
The 45-degree rule
Not every slope needs supports. FDM printers print inclined surfaces unaided — up to a point. That limit is roughly 45 degrees from vertical. Up to 45°, each new layer is offset only slightly from the one below, which is enough support.
When the angle goes past 45° and approaches horizontal, supports become unavoidable. The classic examples: a horizontal bridge between two posts or a ledge on the edge of a part.
In practice we’ve noticed that PLA handles overhangs better than PETG — up to 55–60° without supports with good cooling. PETG is stringier and starts to sag at 45°.
When supports are definitely needed
- Horizontal holes or arches over 5 mm in diameter
- Flat ledges at a steep angle
- Letters or logos over empty space
- Complex organic shapes — figurines, sculptures, parts with thin features
Types of supports
Linear (classic)
Vertical columns or walls from the bed to the overhang. Reliable and predictable, but they leave noticeable marks and use more material. We use them for simple geometric parts where the surface under the supports isn’t critical.
Tree supports
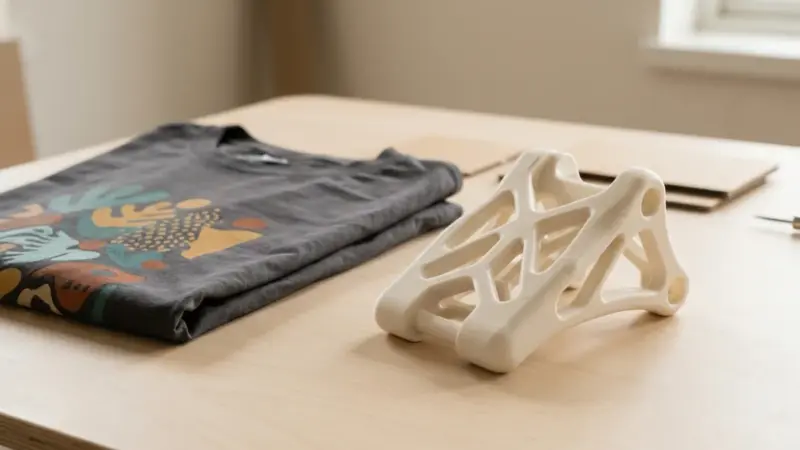
Tree-shaped supports “grow” from the bed and touch the part only where needed. The main advantage is minimal contact with the surface, fewer marks and easier removal. They also use less material. We use tree supports for figurines, sculptures and any organic shapes — the result is noticeably better.
Organic
A newer type in Cura and PrusaSlicer. They combine the advantages of tree supports with better stability. The structure looks like roots — thin branches merging into thicker trunks. They work well for large models where you need to save material without risking a support collapsing.
Support materials
Most often, supports are printed in the same material as the part. It’s the simplest and cheapest option — no second extruder needed. After printing, the supports are snapped off or cut away with a knife.
For complex parts with supports in hard-to-reach places, there are soluble materials:
- PVA (polyvinyl alcohol) — dissolves in water. Printed together with PLA. Soak the part for a few hours and the supports disappear completely, leaving a perfect surface. We use PVA for complex prototypes where removing supports mechanically is impossible.
- HIPS (high-impact polystyrene) — dissolves in limonene. For ABS parts. It dissolves more slowly, but the result is the same — a clean surface.
Soluble supports are a premium option. They make sense for parts with complex internal geometry, where you simply can’t reach the supports with a tool.
How to reduce supports at the design stage
The best supports are the ones you don’t have to print. Here are the techniques we use every day:
The right orientation
Often it’s enough to rotate a part by 90° or 180° for the overhangs to disappear. The letter “T” is better printed upside down. A part with one flat side should go on the bed on that side. We always check 3–4 orientation options before printing — sometimes the difference in the amount of support is huge.
Splitting into parts
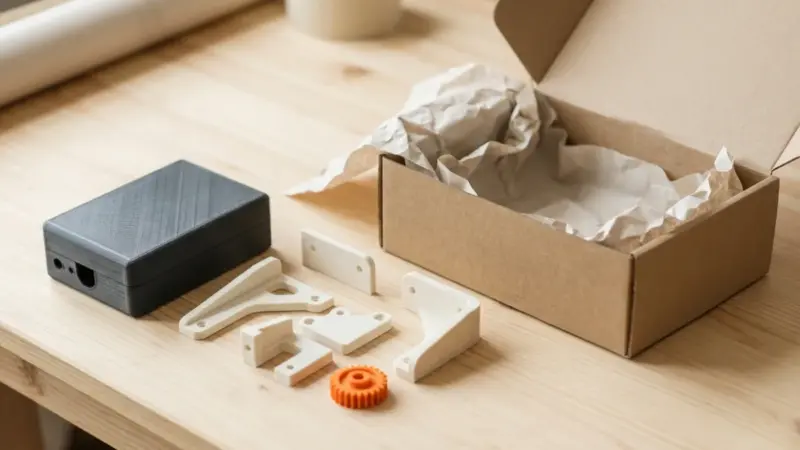
It’s often better to cut a complex part into two or three simpler ones, print each without supports and glue them together. It saves material and time, and the surface quality is much higher. A concrete example: an enclosure with a horizontal window — printed whole, it needs supports inside. Cut in half, it prints without supports in less time.
Chamfers instead of right angles
Replace a horizontal ledge at 90° with a 45° chamfer — and you won’t need supports. This principle is called “design for printing”, and it’s widespread among experienced designers. More in the article on wall thickness and infill.
Hole shape
Round holes up to 10 mm usually print without supports — the top of the arch sags very little. For larger holes, use a teardrop or diamond shape — it reduces horizontal spans.
Support settings in the slicer
The right settings are a balance between reliability and easy removal. Here are the key parameters with our recommendations:
- Support density — 10–20%. Lower is easier to remove but may not hold. For large flat areas we use 15–20%.
- Z distance — 1–2 layer heights (0.2–0.4 mm). More is easier to separate but gives a worse overhang. For critical parts we use 1 layer.
- Support interface — 2–3 dense layers between the support and the part. We always turn it on — the difference in overhang quality is very noticeable.
- Pattern — zigzag snaps off most easily, grid is the strongest. We usually use zigzag.
Removing supports
Tools: pliers, a utility knife, 200–400 grit sandpaper.
Start with the biggest pieces — they usually snap off by hand or with pliers. Cut away small remnants with a knife. Sand down contact marks. For PLA you can run a heated soldering iron over small bumps; for ABS, use acetone vapour.
If noticeable marks remain after removal, increase the Z distance, reduce the density or try tree supports. More tips in the article on 3D printing mistakes.
When supports are unavoidable
There are models that can’t do without supports:
- Figurines and miniatures — arms, weapons and wings almost always need supports.
- Enclosures with windows — openings for displays or buttons in the side walls.
- Architectural models — balconies, arches, canopies — elements that overhang by definition.
- Horizontal threaded holes — without supports the thread comes out uneven.
In such cases, the key to quality is the right type of support, optimal settings and careful post-processing.
Need a part with complex geometry?
We have experience printing models of any complexity. We’ll choose the orientation, the type of supports and the material for the best surface quality. Send us the model or describe the task — we’ll quote it for free.
Order 3D printing
Need quality 3D printing? materials. prices. order printing. Delivery across Ukraine by Nova Poshta.
A part with complex geometry? Send us the model — we’ll choose the orientation and supports for a clean surface and quote it within an hour.
FAQ
When are supports needed in 3D printing?
When part of the model overhangs at more than 45° from vertical: horizontal bridges, ledges, arches and holes over 5 mm, the arms and wings of figurines.
How can I print a part without supports?
Rotate it so there are no overhangs, cut it into parts that print without support, replace straight ledges with 45° chamfers and large holes with teardrop shapes.
Which supports leave the fewest marks?
Tree or organic supports — they only touch the part where needed. Add 2–3 interface layers.
Do supports increase the printing price?
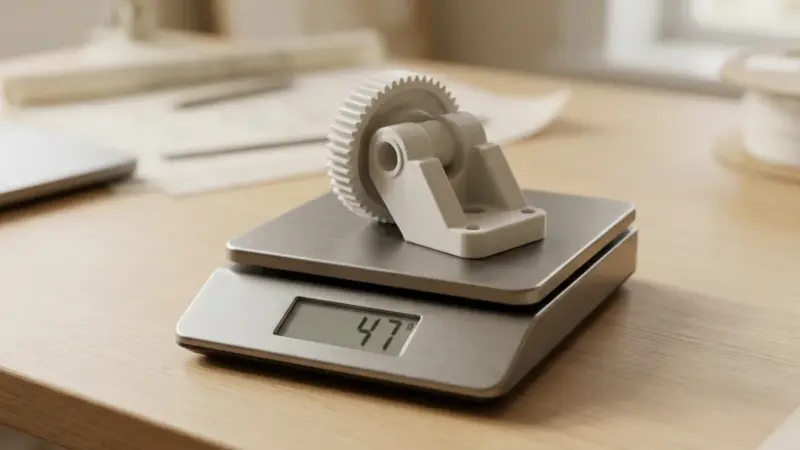
Yes: they use plastic too — 15 to 40% of the part’s weight. That’s why we check 3–4 orientation options before printing.