3D printer calibration: a step-by-step guide for beginners
Why calibrate a 3D printer?
Even the most expensive 3D printer won’t give good results without proper calibration. It’s like tuning a musical instrument — without it, even the best violinist can’t play in tune. Calibration affects dimensional accuracy, surface quality, first-layer adhesion and the overall reliability of printing. If you’re running into typical 3D printing mistakes — layer separation, strings between parts or an uneven surface — in most cases the cause is a lack of calibration.
In this guide we go through all the key calibration stages step by step — from levelling the bed to fine-tuning retraction and speed.
Bed levelling
Manual levelling
This is where calibrating any FDM printer begins. The idea is simple: the distance between the nozzle and the bed must be the same across the whole print area.
- Heat the bed to working temperature (60°C for PLA, 80–100°C for ABS) — metal expands when heated, so calibration must be done in the working state.
- Move the nozzle to the home position (Home All).
- Place an ordinary sheet of A4 paper between the nozzle and the bed.
- Turning the adjustment screws under the bed, aim for the paper to slide with slight resistance at each of the four corners and in the centre.
- Repeat the procedure 2–3 times, because adjusting one corner affects the others.
Automatic bed levelling (ABL)
Printers with an automatic levelling sensor (BLTouch, CR Touch, an inductive probe) make the process much easier. The sensor measures the distance to the bed at several points and builds a map that compensates for unevenness. But even with ABL it’s worth first setting the bed roughly level by hand — auto-compensation only works correctly with small deviations.
First-layer calibration (Z-offset and baby steps)
The first layer is the foundation of the whole part. Too high and the plastic won’t stick to the bed. Too low and the nozzle scrapes the surface and the plastic is squeezed out too thin.
- Z-offset is a global shift of the Z axis zero point. Decreasing the value brings the nozzle closer to the bed; increasing it moves it away.
- Baby steps are micro-adjustments of the Z-offset during printing. Start a first-layer test print and adjust the height in steps of 0.01–0.05 mm until the lines are slightly squashed and well joined to each other.
A perfect first layer looks like an even, slightly glossy surface with no gaps between the lines and no “ripples” from excess material.
Extruder calibration (E-steps)
E-steps (extruder steps) determine how many steps the feed motor must make to push exactly 1 mm of filament. If this value is wrong, the printer will feed too much or too little material.
- Remove the Bowden tube or disconnect the hotend so you can measure the feed without resistance.
- Mark the filament exactly 120 mm from the extruder inlet.
- Feed 100 mm of filament with the command
G1 E100 F100. - Measure the distance from the mark to the inlet. If 28 mm remains instead of 20 mm, the extruder fed only 92 mm instead of 100.
- Recalculate: new E-steps = current E-steps × (100 / amount actually fed).
- Save the value with the command
M500.
This procedure is done once and repeated only when the extruder or feed motor is replaced.
PID tuning: stable hotend and bed temperatures
The PID controller is responsible for keeping the temperature stable. Without calibration the temperature can fluctuate by several degrees, which affects print quality — especially noticeable with temperamental materials.
- For the hotend: send the command
M303 E0 S200 C8(where S200 is the target temperature and C8 the number of cycles). - For the bed:
M303 E-1 S60 C8. - When the test finishes, the printer outputs three values — Kp, Ki and Kd. Enter them with
M301(hotend) orM304(bed) and save withM500.
If you see temperature fluctuations of more than ±2°C in the slicer or on the printer’s screen, PID calibration is a must.
Retraction calibration (stringing test)
Retraction is pulling the filament back when the nozzle travels between separate parts of the model. Without the right settings, thin strings appear between the parts (stringing).
- Load a stringing test model (for example, two columns with a gap between them).
- Start with a retraction distance of 1 mm for direct drive or 4–6 mm for a Bowden extruder.
- Set the retraction speed to 25–45 mm/s.
- Print tests, changing the parameters in steps of 0.5 mm (distance) and 5 mm/s (speed), until the strings disappear or become minimal.
Note: the optimal retraction values depend on the material and temperature, so you may need to recalibrate after changing filament.
The temperature tower test
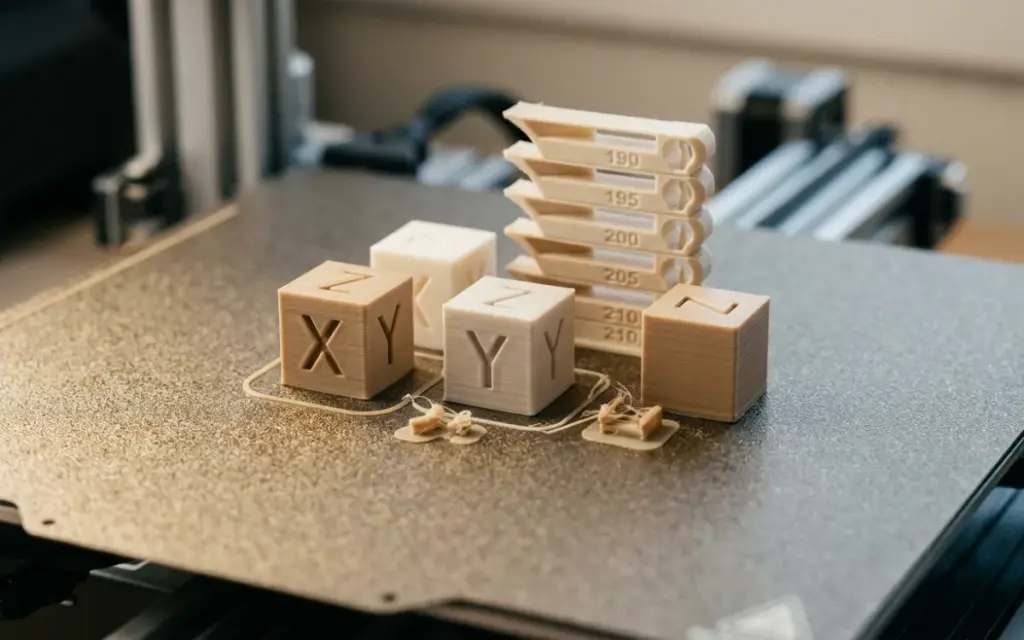
A temperature tower is a special model in which each “storey” is printed at a different temperature. It lets you see visually at which temperature a particular filament gives the best result.
- Load the temp tower model and the corresponding temperature-change script into the slicer.
- The range for PLA is usually 190–220°C, for PETG 220–250°C.
- After printing, assess each level: the quality of overhangs and bridging, the presence of stringing, the overall surface quality.
- Choose the temperature where the balance of all parameters is best.
Speed and acceleration tests
After basic calibration it’s worth checking the maximum speed at which your printer prints without losing quality. Excessive acceleration causes vibrations that show up as “ringing” — wavy artefacts on the part’s surface.
- Print a 20×20×20 mm test cube at standard speed, then increase the speed in steps of 10–20 mm/s.
- To calibrate acceleration, use Input Shaper (Klipper) or simply reduce the acceleration value until the artefacts disappear.
- A typical safe acceleration for most printers is 500–1500 mm/s², and print speed 40–80 mm/s.
Calibration order: what comes after what
To avoid redoing work, follow this sequence:
- Bed levelling
- E-steps calibration
- PID tuning
- Z-offset / first-layer calibration
- Temperature tower
- Retraction calibration
- Speed and acceleration tests
Each stage builds on the result of the previous one, so the order matters.
Summary
Calibrating a 3D printer isn’t a one-off action but a skill that becomes intuitive over time. Most parameters only need setting once, then adjusting when you change material or after a long break. If you’ve just assembled a printer or noticed print quality getting worse, go through this checklist from start to finish, and the result will pleasantly surprise you.
Don’t want to calibrate it yourself?
We print on equipment that’s already tuned, with quality control for every part. Order 3D printing — send us the model and we’ll take care of everything else.
Don’t want to prepare the file yourself? Send the model as it is — we’ll check it, fix any errors and quote it within an hour.